Sawstop Fence Assembly User Manual
Browse online or download User Manual for Power saws Sawstop Fence Assembly. SawStop Fence Assembly User Manual
- Page / 16
- Table of contents
- BOOKMARKS
Summary of Contents
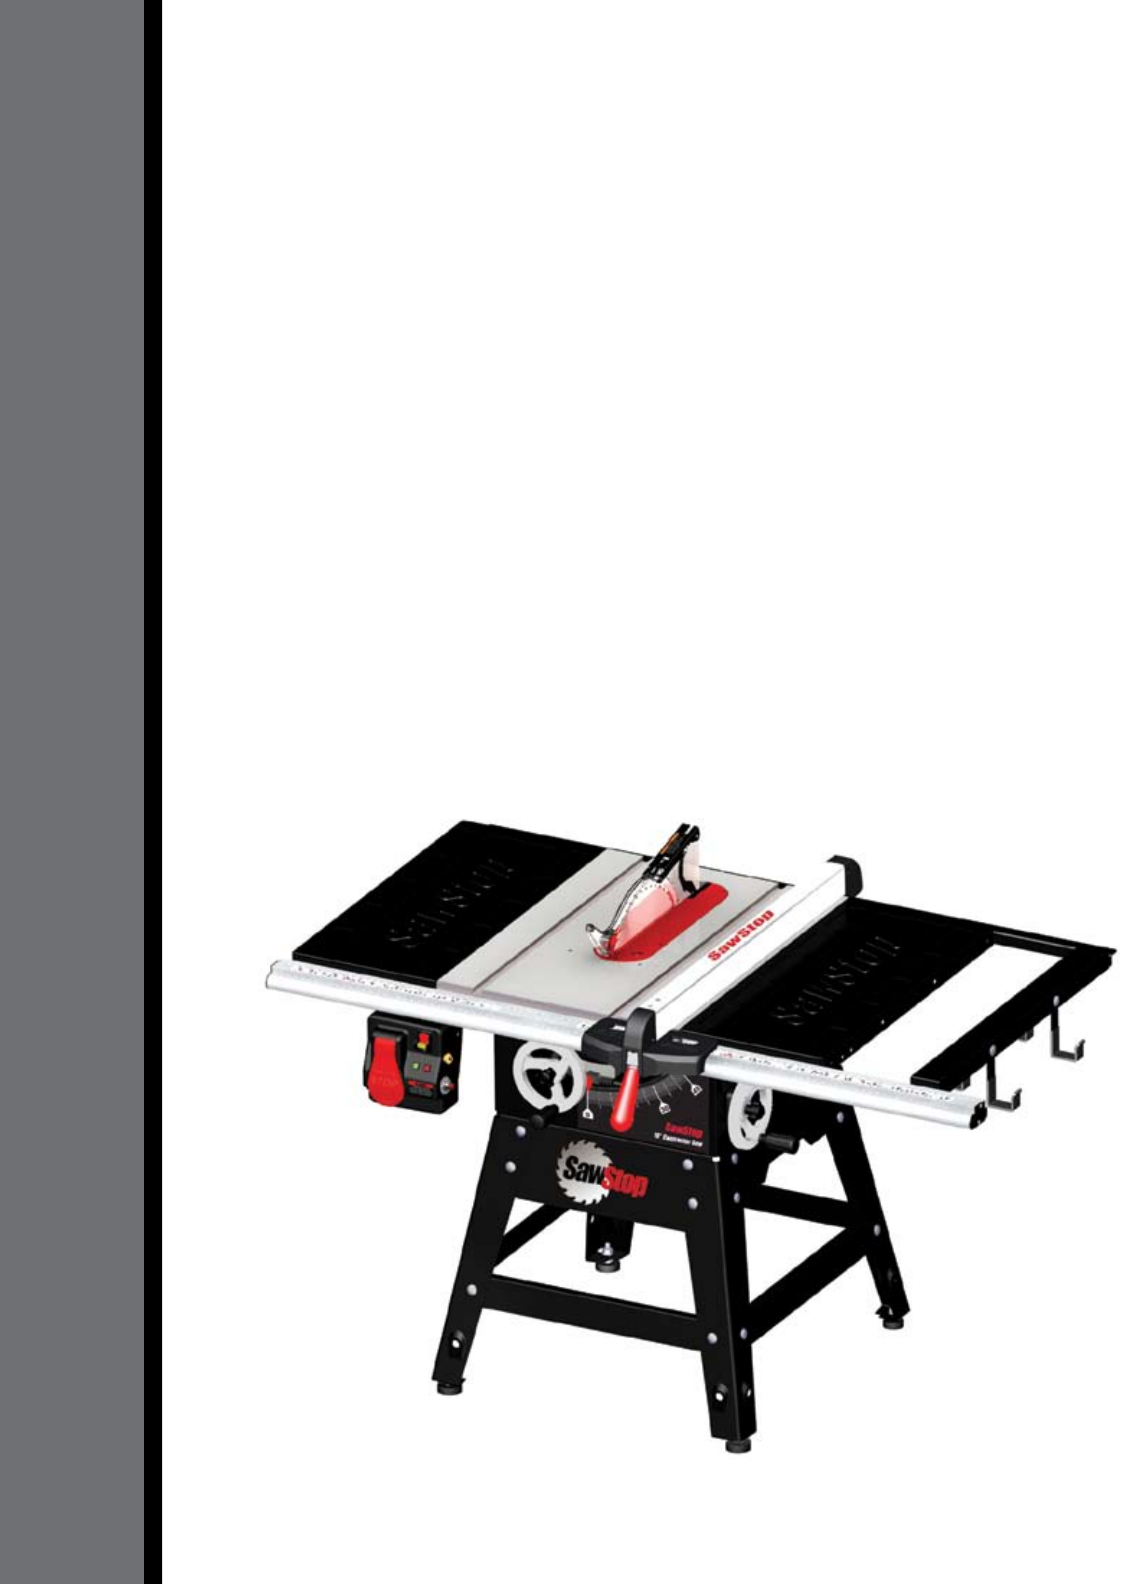
SawStop®OWNER’S MANUALContractor Fence AssemblyModel CNS-SFA
Using Your Rip Fence8 SawStop Contractor Fence AssemblyTo use the rip fence, begin by placing it on the fence rails so that the clamp at
The fence must be parallel to the cutting surface of the blade to make an accurate rip cut. Use the following procedure to check if the fence i
Contractor Fence Rails Assembly Exploded View1312321314328112332110276465123321313101010901530SawStop10” Contractor Saw10 SawStop Contractor Fence
Contractor Fence Rails Assembly Parts ListNo. Description Part No. Qty.Contractor Fence Rails Assembly (includes items 1-14) SFA-07-000 11 M8x1.25x20
Contractor Fence Assembly Exploded View1312142127292819242625232217162021185834961115710SawStop3012 SawStop Contractor Fence Assembly
Contractor Fence Assembly Parts ListNo. Description Part No. Qty.Contractor Fence Assembly (includes items 1-30) SFA-07-015 11 Fence Tube SFA-07-016 1
SawStop, LLC9564 S.W. Tualatin RoadTualatin, Oregon 97062www.sawstop.comMain Phone - (503) 570-3200Service - (503) 682-6222Fax - (503) 570-3303Email:
1. You must install a rip fence before using your contractor saw. Attempting to use the saw without the rip fence could result in serious personal in
SawStop Contractor Fence Assembly 1Unpacking Your Fence Assemblyfenceleft rear rail right rear rail materialsupport shelffront rail Installing the
1. Locate the front rail, the left and right rear rails, and hardware pack #3 (see Fig. 1). All of the hardware needed to insta
4. Place an M8 lock washer and thread an M8 hex nut on the back of each of the eight square head screws (see Fig. 4), but do not fully tighten the nu
Installing Your Fence Assemblystraight-edge4 SawStop Contractor Fence Assembly7. Use a straight-edge to level the rear edge of the left extension
thread the handle into the cam lockSawStop Contractor Fence Assembly 5SawStopInstalling Your Fence AssemblyFig. 1120171811. The two small storage
!WARNING For your own safety, read the instruction manual before operating this saw.1. Wear eye pr
right fence scale should read zerostraight-edgeSawStop Contractor Fence Assembly 703106 07 08 0459 010 01 02 03 00124 03 02 01 06 05 016. Use a st
Related products and manuals for Power saws Sawstop Fence Assembly
 (123 pages)
 (148 pages)
(24 pages)
(123 pages)
(119 pages)
(110 pages)
(96 pages)
(108 pages)
(104 pages)
(148 pages)
(24 pages)
(123 pages)
(119 pages)
(110 pages)
(96 pages)
(108 pages)
(104 pages)
© 2020, manymanuals.com. All rights reserved. | 0.114 s |
 Manymanuals.com
 Manymanuals.de
 Manymanuals.fr
 Manymanuals.it
 Manymanuals.pl
 Manymanuals.cz
 Manymanuals.es
 Manymanuals-pt.com
Comments to this Manuals